Vinyl wrapping your car is a fantastic way to completely transform its look without resorting to a permanent paint job. It’s a great option for those who want a unique and stylish exterior or protection for the original paint. However, achieving a flawless vinyl wrap requires careful preparation, technique, and the right tools. This guide will walk you through the entire process step-by-step, so you can achieve a professional-looking finish on your car.
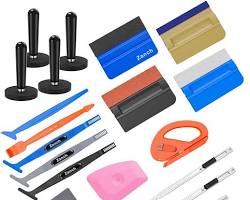
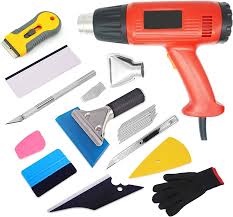
Tools and Materials You’ll Need:
- High-quality vinyl wrap (enough to cover your entire car)
- Heat gun
- Squeegee (felt or plastic)
- Utility knife
- Spray bottle with a mixture of isopropyl alcohol and water (1:1 ratio)
- Microfiber cloths
- Primer (optional, for certain types of vinyl)
- Wrap magnet (optional, helps hold vinyl in place during application)pen_spark
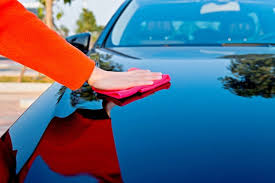
Step 1: Thoroughly Wash and Dry Your Car
- Park your car in a clean, well-ventilated area out of direct sunlight.
- Wash your car thoroughly with car soap to remove any dirt, grime, or wax. Pay close attention to areas like fenders, bumpers, and trim, where debris might be hiding.
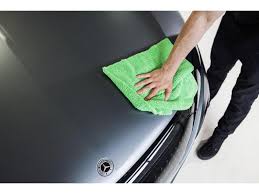
- Dry your car completely with clean microfiber cloths. Any remaining moisture can prevent the vinyl from adhering properly.
Step 2: Prepare the Car Surface
- Use the isopropyl alcohol solution to remove any remaining oils or contaminants from the car’s surface. This will ensure a strong bond between the paint and the vinyl.
- Mask off any areas you don’t want wrapped, such as headlights, taillights, and emblems.
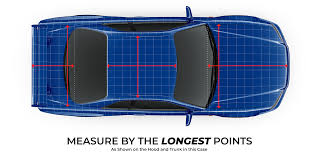
Step 3: Measure and Cut the Vinyl Wrap (optional)
- While not essential for all wrapping techniques, some prefer to pre-cut large sections of vinyl for easier application. If you choose this route, carefully measure the different sections of your car and cut the vinyl accordingly, leaving a few extra inches for trimming later.
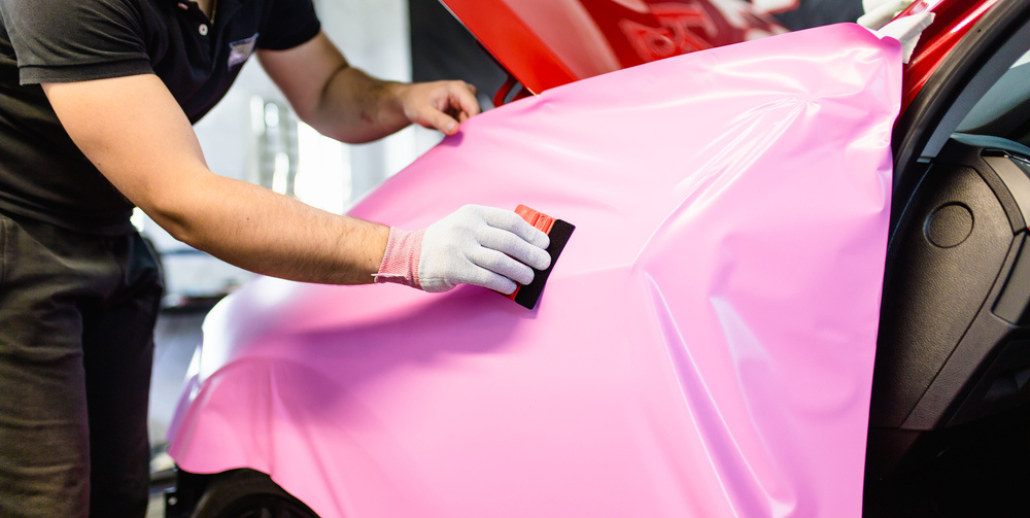
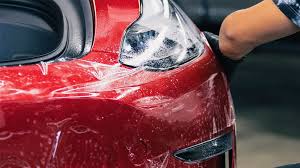
Step 4: Apply Heat and Squeegee (The Wrapping Process)
- Unpeel a small section of the vinyl’s backing paper and align it to the starting point on your car. A popular starting point is the hood or a flat panel like a door.
- Using a heat gun on a low setting, gently heat the vinyl as you slowly squeegee it onto the car surface. The heat helps activate the adhesive on the vinyl and allows for better manipulation.
- Work your way from the center outwards, using the squeegee to remove any air bubbles or wrinkles. Always squeegee with firm, even pressure to avoid stretching the vinyl.
Pro Tip: For complex curves and corners, use a heat gun to soften the vinyl slightly, allowing it to stretch and conform to the shape.
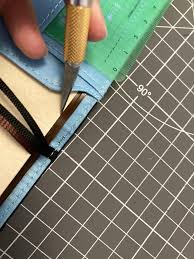
Step 5: Trim the Excess Vinyl
- Once you’ve wrapped a section, use a sharp utility knife to carefully trim the excess vinyl around the edges. You can use a tucked-in squeegee edge as a guide for a clean cut.
Step 6: Wrap the More Challenging Areas (Bumpers, Mirrors, etc.)
- Wrapping bumpers, mirrors, and other intricate areas requires extra patience and attention to detail.
- Heat the vinyl considerably and use your fingers or wrapping magnets to hold it in place while conforming it around curves. A heat gun will be your best friend in these areas.
- Trim any excess vinyl and tuck the edges neatly into crevices for a clean finish.
Step 7: Post-Wrap Care
- Avoid washing your car for at least 48 hours after wrapping to allow the adhesive to fully cure.
- Use gentle car washes and avoid harsh chemicals or abrasive cleaners.
- Be mindful of extreme temperatures, especially right after wrapping, as they can affect the vinyl’s adhesion.
Additional Tips for Success:
If you’re a beginner, consider practicing on a smaller, inconspicuous area before tackling the entire car.For complex cars or if you’re unsure about your skills, consider seeking professional help from a vinyl wrap installer.